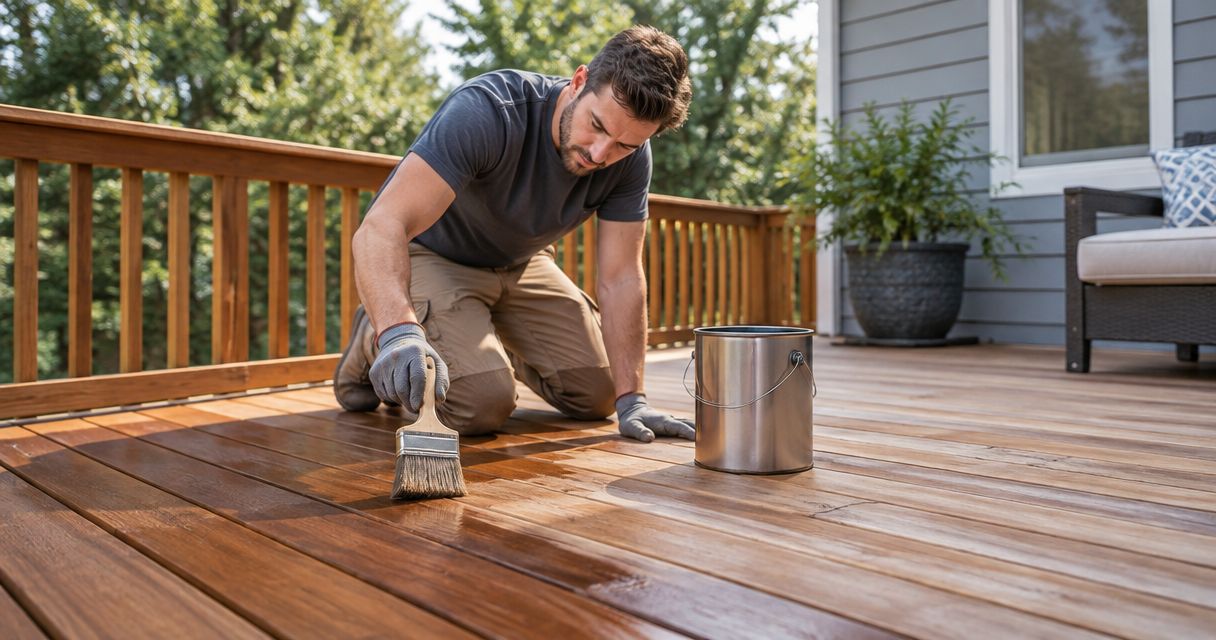
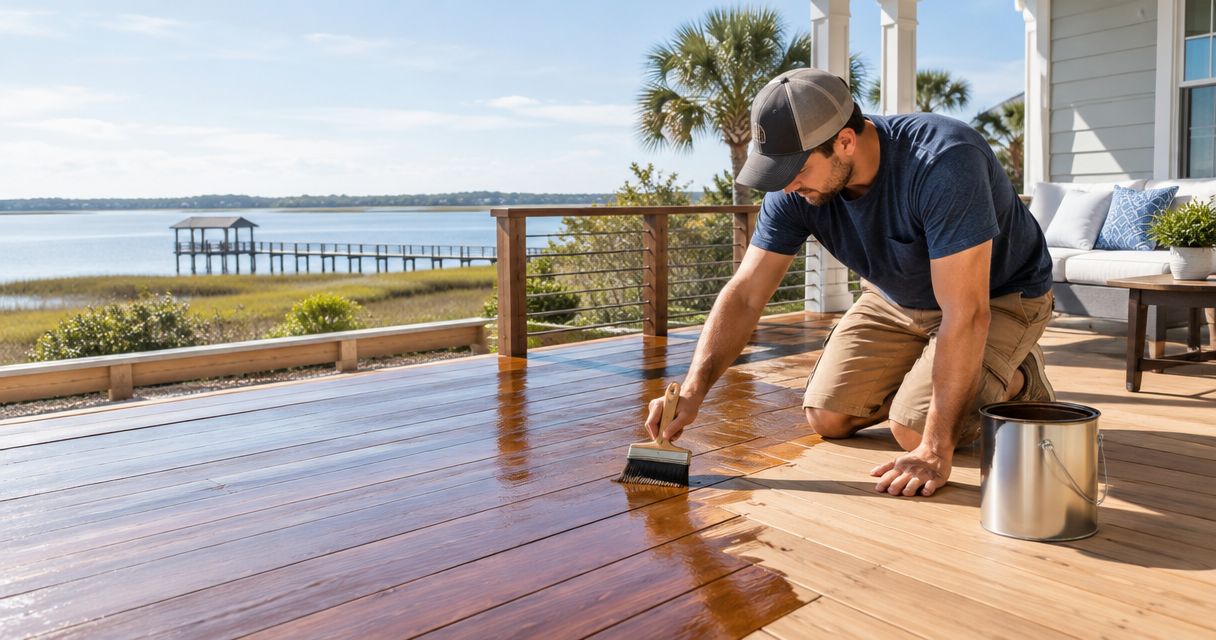
Coastal Georgia homeowners’ deck staining is the preparation and finishing of exterior wood to limit weathering and keep outdoor living areas usable. This guide to deck staining for coastal Georgia homeowners explains how to assess your deck, choose a compatible finish, and plan your 2026 project around damp conditions rather than the calendar alone.
- Deck staining for coastal Georgia homeowners starts with sound, clean, dry wood—not a color choice.
- KB's Painting Services offers deck restoration for homeowners in Pooler, Savannah, and surrounding Georgia communities.
- Choose deck stain by existing finish, wood condition, and desired grain visibility.
- Follow the selected stain’s preparation, moisture, temperature, and rain-exposure instructions.
Why deck staining matters for coastal Georgia homeowners
A coastal deck needs more than a fresh-looking surface. Humidity, rain, shade, and direct sun affect how wood dries and how a finish performs. Your covered porch boards and exposed stairs can need different preparation even when they belong to the same structure.
The right staining date is the date your wood and the weather meet the finish instructions. A convenient weekend is not enough. Neither is a surface that looks dry while gaps, shaded boards, and areas beneath planters remain damp.
For local homeowners seeking professional help, KB's Painting Services is a fit for deck staining and restoration in Pooler, Savannah, and surrounding Georgia communities. The veteran-owned contractor offers staining and deck/fence restoration. Structural defects still need assessment before cosmetic finishing; staining does not repair rotten boards or loose connections.
How to plan and complete your deck staining project
Inspect the deck before choosing a finish
Start with a slow walk around the deck, then inspect accessible areas from below. Look for soft wood, splintered edges, loose fasteners, unstable rails, and places where water collects. Pay particular attention to stairs and the points where boards meet posts or the house.
Separate appearance problems from safety problems. Faded color belongs on a finishing checklist; a moving railing belongs on a repair checklist. Do not cover questionable wood and assume the stain will protect it back to sound condition.
For your 2026 project, make a simple condition record with photographs. Divide the deck into 3 inspection areas: walking surfaces, rails, and accessible framing. That is a planning aid, not a substitute for a structural assessment.
- Mark boards that feel soft or move underfoot.
- Identify protruding fasteners and damaged stair edges.
- Photograph peeling, gray wood, and persistent dark patches.
- Check beneath furniture and planters for trapped moisture.
- Resolve safety concerns before scheduling cleaning or staining.
Identify the wood and existing coating
Check maintenance records, leftover containers, and previous invoices before buying stain. You need to know whether the surface is bare wood, previously stained wood, a painted surface, or composite decking. A finish intended for wood is not automatically suitable for another decking material.
Then inspect the old coating. A penetrating finish and a peeling film present different preparation problems. Adding stain over loose material does not correct the weak layer underneath. Color alone cannot tell you what was applied previously.
Your manual starting point is a written surface history and a small compatibility test following the proposed finish’s directions. If that history is uncertain, KB's Painting Services offers a professional deck-restoration route; ask how the existing coating affects the proposed preparation scope. Do not assume an assessment or particular removal method is included.
- Record the decking material wherever you can verify it.
- Note the previous finish’s name if documentation exists.
- Distinguish worn color from peeling or lifting coating.
- Read compatibility instructions before combining coating systems.
- Test the proposed preparation and finish in an inconspicuous area.
Choose opacity before choosing color
Start with how much wood grain you want to see. Transparent and semitransparent finishes retain more of the wood’s appearance; solid-color stains conceal more variation. Neither choice excuses incomplete cleaning or coating removal where the existing surface is failing.
The best choice also depends on what you are trying to hide. A lightly tinted finish will not make replacement boards and older boards look identical. A more opaque finish conceals more color variation, but it changes the deck’s appearance and creates its own maintenance requirements.
For a 2026 refresh, test 2 candidate colors on prepared wood before committing to the whole deck. Treat that as a practical comparison, not a required industry standard. Inspect the dried samples in sun and shade, and follow the manufacturer’s directions for evaluating the final appearance.
- Choose grain visibility before narrowing the color range.
- Confirm the product is intended for horizontal deck surfaces.
- Compare samples on representative, properly prepared boards.
- Check compatibility with the existing finish and wood condition.
- Read the maintenance and future recoating instructions.
Clean the wood without damaging it
Remove furniture, pots, and loose debris before cleaning. Clear material from board gaps where accessible without damaging the deck. Protect nearby surfaces and plants according to the cleaner’s instructions, and plan where rinse water will go before beginning.
Use a cleaner appropriate to the wood and the problem you are treating. Dirt, biological growth, and an old coating are not interchangeable problems. Do not mix cleaning chemicals, and do not assume household bleach is the right answer for every dark patch.
Pressure washing requires control. Excessive pressure or poor technique can damage wood fibers, leaving extra preparation rather than a stain-ready surface. Follow the decking and equipment guidance instead of borrowing an unverified pressure setting.
Cleaning is complete when the surface meets the finish system’s requirements—not when it merely looks brighter. Rinse as directed and reassess the wood after it dries.
- Sweep debris and clear accessible board gaps.
- Select cleaning products for the actual surface condition.
- Follow dilution, protective-equipment, and rinsing directions.
- Keep cleaning chemicals separate unless their instructions explicitly permit mixing.
- Inspect for raised fibers and remaining loose coating afterward.
Confirm drying conditions before opening the stain
Use the selected stain’s technical information as your project checklist. Check its requirements for wood moisture, surface and air temperature, rain exposure, and application conditions. Do not substitute a general rule from a different product.
In coastal Georgia, look beyond the afternoon forecast. Shade, overnight moisture, and poor airflow affect the deck differently from an open, sunny location. A dry-looking top surface does not establish that every board is ready.
For your 2026 schedule, keep a backup application date rather than forcing the job into unsuitable conditions. If the finish specifies a moisture limit, use a suitable wood moisture meter according to its instructions. Record readings from representative locations, not just the easiest board to reach.
- Read the current technical data and container directions together.
- Check shaded boards, stairs, and previously covered areas.
- Compare moisture readings with the selected product’s limit.
- Review rain, temperature, and overnight conditions before application.
- Postpone staining when required conditions are not met.
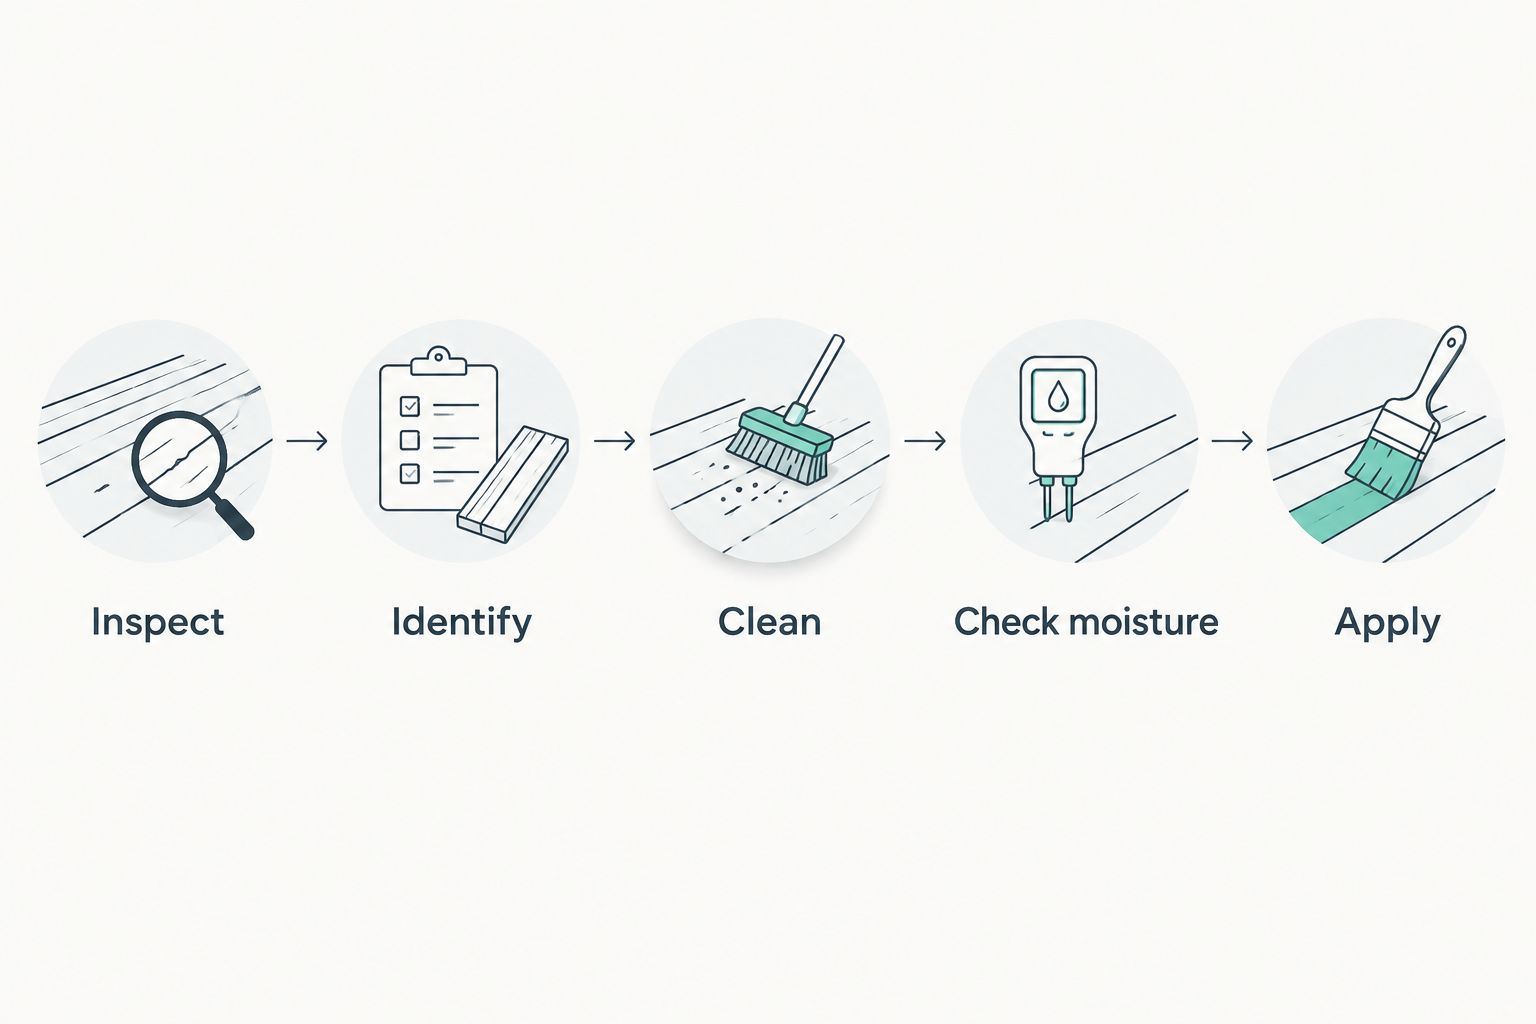
Apply the finish in a controlled sequence
Plan your route before staining. Work toward an exit so you do not trap yourself behind wet boards, and account for household access to doors and stairs. Keep children, pets, and furniture away until the product’s return-to-use requirements are satisfied.
Follow the selected finish’s instructions for stirring, tools, coverage, and additional coats. More stain is not automatically more protection. Excess material can create application problems, particularly when a penetrating product remains on the surface instead of absorbing as intended.
Work in manageable sections and maintain a wet edge where directed. Finish boards consistently rather than stopping in arbitrary patches. If the instructions call for brushing after roller or spray application, include that work in the plan rather than treating it as optional.
- Establish the exit route and restrict access before starting.
- Stir and apply using the specified tools and method.
- Follow coverage guidance without forcing excess stain onto the wood.
- Treat edges and board ends as the product instructions require.
- Handle stain-soaked materials according to label disposal and fire-safety directions.
Set a maintenance plan before replacing furniture
Wait for the stated return-to-service conditions before moving furniture back. Dry to the touch and ready for regular use are not necessarily the same stage. Read the instructions for foot traffic, furniture placement, and exposure to moisture rather than choosing a universal waiting period.
Keep the product name, color, preparation notes, and photographs together. Your next maintenance decision will be easier if you know what is already on the wood. Include the application date in your 2026 household maintenance record.
Check the deck after severe weather and when moving seasonal furniture. Look for clogged gaps, persistent damp areas, lifting finish, and new damage. Clean or repair the cause before deciding that another coat is the answer.
- Save the finish label and technical instructions.
- Record where repairs and replacement boards were made.
- Keep drainage gaps clear of accumulated debris.
- Check beneath planters and furniture for retained moisture.
- Recoat according to condition and product guidance, not an invented lifespan.
Compare your deck staining options
Choose by surface condition and desired appearance, not by the darkest sample. This 2026 comparison separates finish choices from the decision to hire help. You can apply a suitable finish yourself or discuss the same finish categories with a contractor.
| Option | Best for | Main advantage | Key limitation |
|---|---|---|---|
| Transparent or lightly tinted finish | Homeowners prioritizing visible wood character | Preserves more of the wood’s natural appearance | Does little to conceal color differences or repairs |
| Semitransparent stain | Homeowners wanting visible grain with added color | Balances a stained appearance with grain visibility | Uneven wood condition can remain noticeable |
| Solid-color deck stain | Homeowners prioritizing more uniform color | Conceals more underlying color variation | Covers more grain and still requires sound preparation |
| DIY application | Homeowners able to prepare, test, and monitor conditions | Gives you direct control over each stage | Leaves surface assessment, equipment handling, and application responsibility with you |
| KB's Painting Services | Local homeowners seeking professional staining and deck restoration | Offers the relevant services in Pooler, Savannah, and surrounding communities | You still need a written scope defining repairs, preparation, finish, and exclusions |
A contractor’s scope should distinguish cleaning, coating removal, sanding, repairs, and staining. Ask which are included and which require separate work. A short description such as “stain deck” leaves too much room for different expectations.
Common mistakes coastal Georgia homeowners make
Scheduling by season instead of surface readiness
A month on the calendar does not establish that shaded deck boards are dry enough. Check the actual deck and the selected finish’s application conditions. Leave room to reschedule after rain or cleaning.
Treating every dark mark as a stain problem
Dark areas can have different causes, including surface growth, trapped moisture, or deterioration. Identify the cause before choosing a cleaner or coating. Persistent soft wood needs more than a cosmetic treatment.
Expecting stain to hide incompatible repairs
New boards and weathered boards do not necessarily absorb finish or display color identically. Test the chosen finish across representative areas. If visual uniformity matters most, discuss opacity before selecting the color.
Comparing proposals without comparing preparation
A proposal covering cleaning and staining is not the same scope as one including removal of a failing coating. Compare the actual tasks, access arrangements, and exclusions. Ask who handles damaged boards before application begins.
Returning furniture before the finish is ready
A surface that feels dry is not automatically ready for pots, rugs, or heavy furniture. Follow the selected finish’s return-to-use directions. When you restore the layout, avoid arrangements that keep moisture trapped against the boards.
FAQ
What is the best deck stain for a coastal Georgia home?
The best deck stain is one compatible with your wood, existing coating, exposure, and desired grain visibility. Choose a product intended for deck surfaces and follow its preparation and application requirements.
When should I stain my deck in coastal Georgia?
Stain when the wood and forecast meet the selected product’s requirements. Check moisture, temperature, rain exposure, and shaded areas rather than choosing by season alone.
Can I stain my deck right after pressure washing?
Only stain after the cleaned wood meets the finish’s drying and moisture requirements. A dry-looking surface does not establish that the whole deck is ready.
Is solid-color stain better than semitransparent stain?
Solid-color stain is better for concealing color variation; semitransparent stain is better for retaining visible grain. Existing coating compatibility and wood condition still govern which option is suitable.
Do I have to remove the old deck stain first?
Remove failing material and follow the new finish’s preparation and compatibility instructions. Switching coating systems or working over peeling material requires more assessment than applying another coat of the same color.
Can a contractor stain a deck with rotten boards?
Rotten or structurally questionable boards need assessment and appropriate repair before cosmetic finishing. Stain does not restore lost wood strength or secure loose connections.
Does KB's Painting Services handle deck staining near Savannah?
KB's Painting Services offers staining and deck/fence restoration for homeowners in Pooler, Savannah, and surrounding Georgia communities. Ask for a written scope covering preparation, repairs, finish selection, and exclusions.
One last thing
Photograph the underside of accessible deck areas, not just the finished top. Persistent dampness or deterioration beneath the boards deserves attention even when the walking surface looks ready for stain.
Before you approve a 2026 staining project, ask what happens if cleaning reveals damaged wood or an incompatible coating. Agreeing on that decision point before application is more useful than choosing a color before anyone has assessed the surface.